Watching your child learn to write letters is an exciting milestone! But it's also a surprisingly complex task. It's more than just recognizing the shape of an 'A'. Your little learner is also figuring out how to:-
- Follow the Lines: Tracing specific paths, curves, and starting points.
- Control the Pencil: Developing the fine motor skills needed to hold a writing tool correctly and apply the right pressure.
- Connect Eye to Hand: Making their hand draw the shape their eye sees and their brain intends.
That's a lot for a young mind and body to coordinate! Trying to learn the whole alphabet at once can feel overwhelming and lead to frustration.
This is where breaking it down helps! Focusing on just a few letters at a time, using small, achievable goals, makes the process feel less like a chore and more like a fun challenge. It builds confidence with each small success.
Ready to get started? Let's tackle the first few letters together: A, B, and C!
Goal: Practice Writing Letters A, B, C
A visual TaskBoard is a fantastic tool for this! You can break the larger goal into these smaller, manageable "bitesize" tasks:-
1. Mastering 'A' and 'a'
Example Task 1: Trace Uppercase 'A' 5 Times
Start with guided practice using tracing worksheets or dotted lines. Gently guide their hand if needed, focusing on the starting point and the direction of the strokes (e.g., "down, down, across").
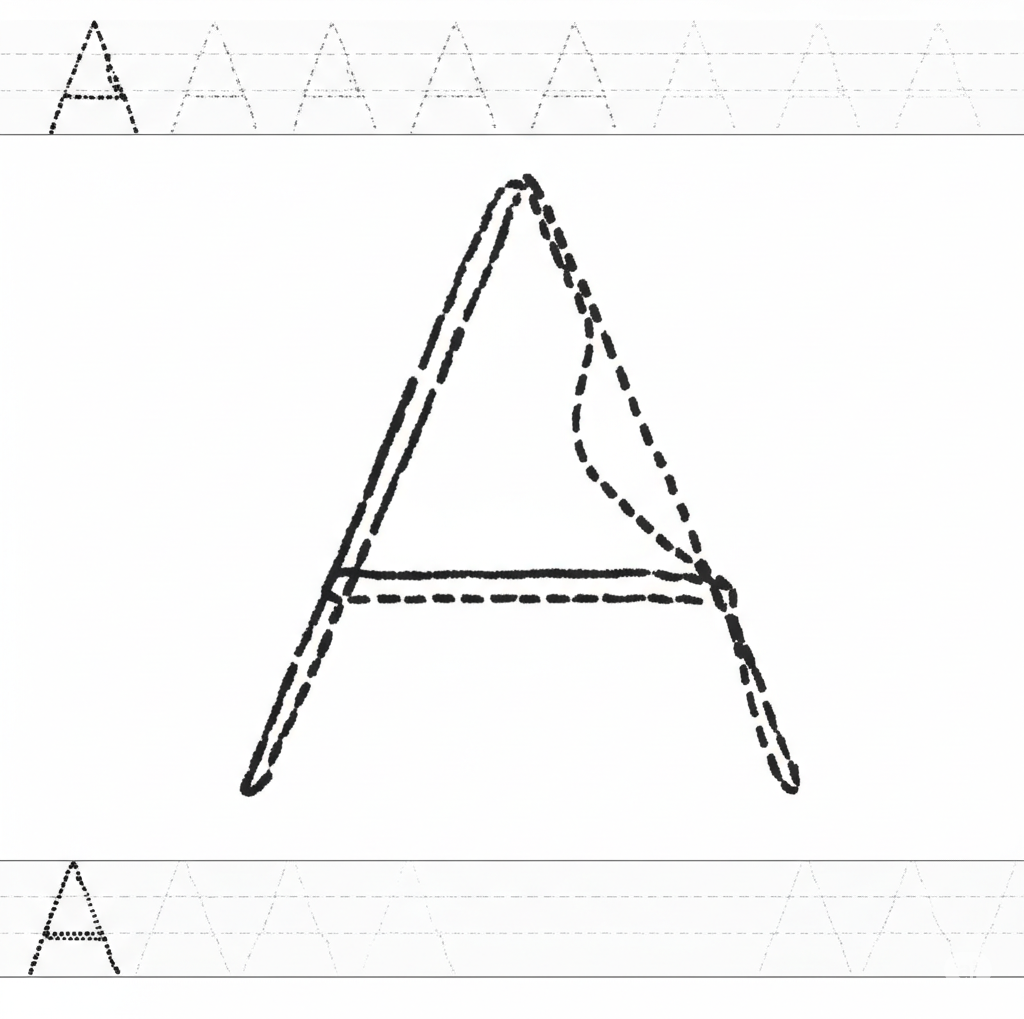
Example Task 2: Write Uppercase 'A' By Myself (3 Times)
Now, let them try it solo! Encourage their best effort – it absolutely doesn't need to be perfect. Remember to praise their focus and willingness to try.
Example Task 3: Trace Lowercase 'a' 5 Times
Time for the lowercase version! Use the same tracing technique. Talk about how it looks different from the uppercase 'A'.
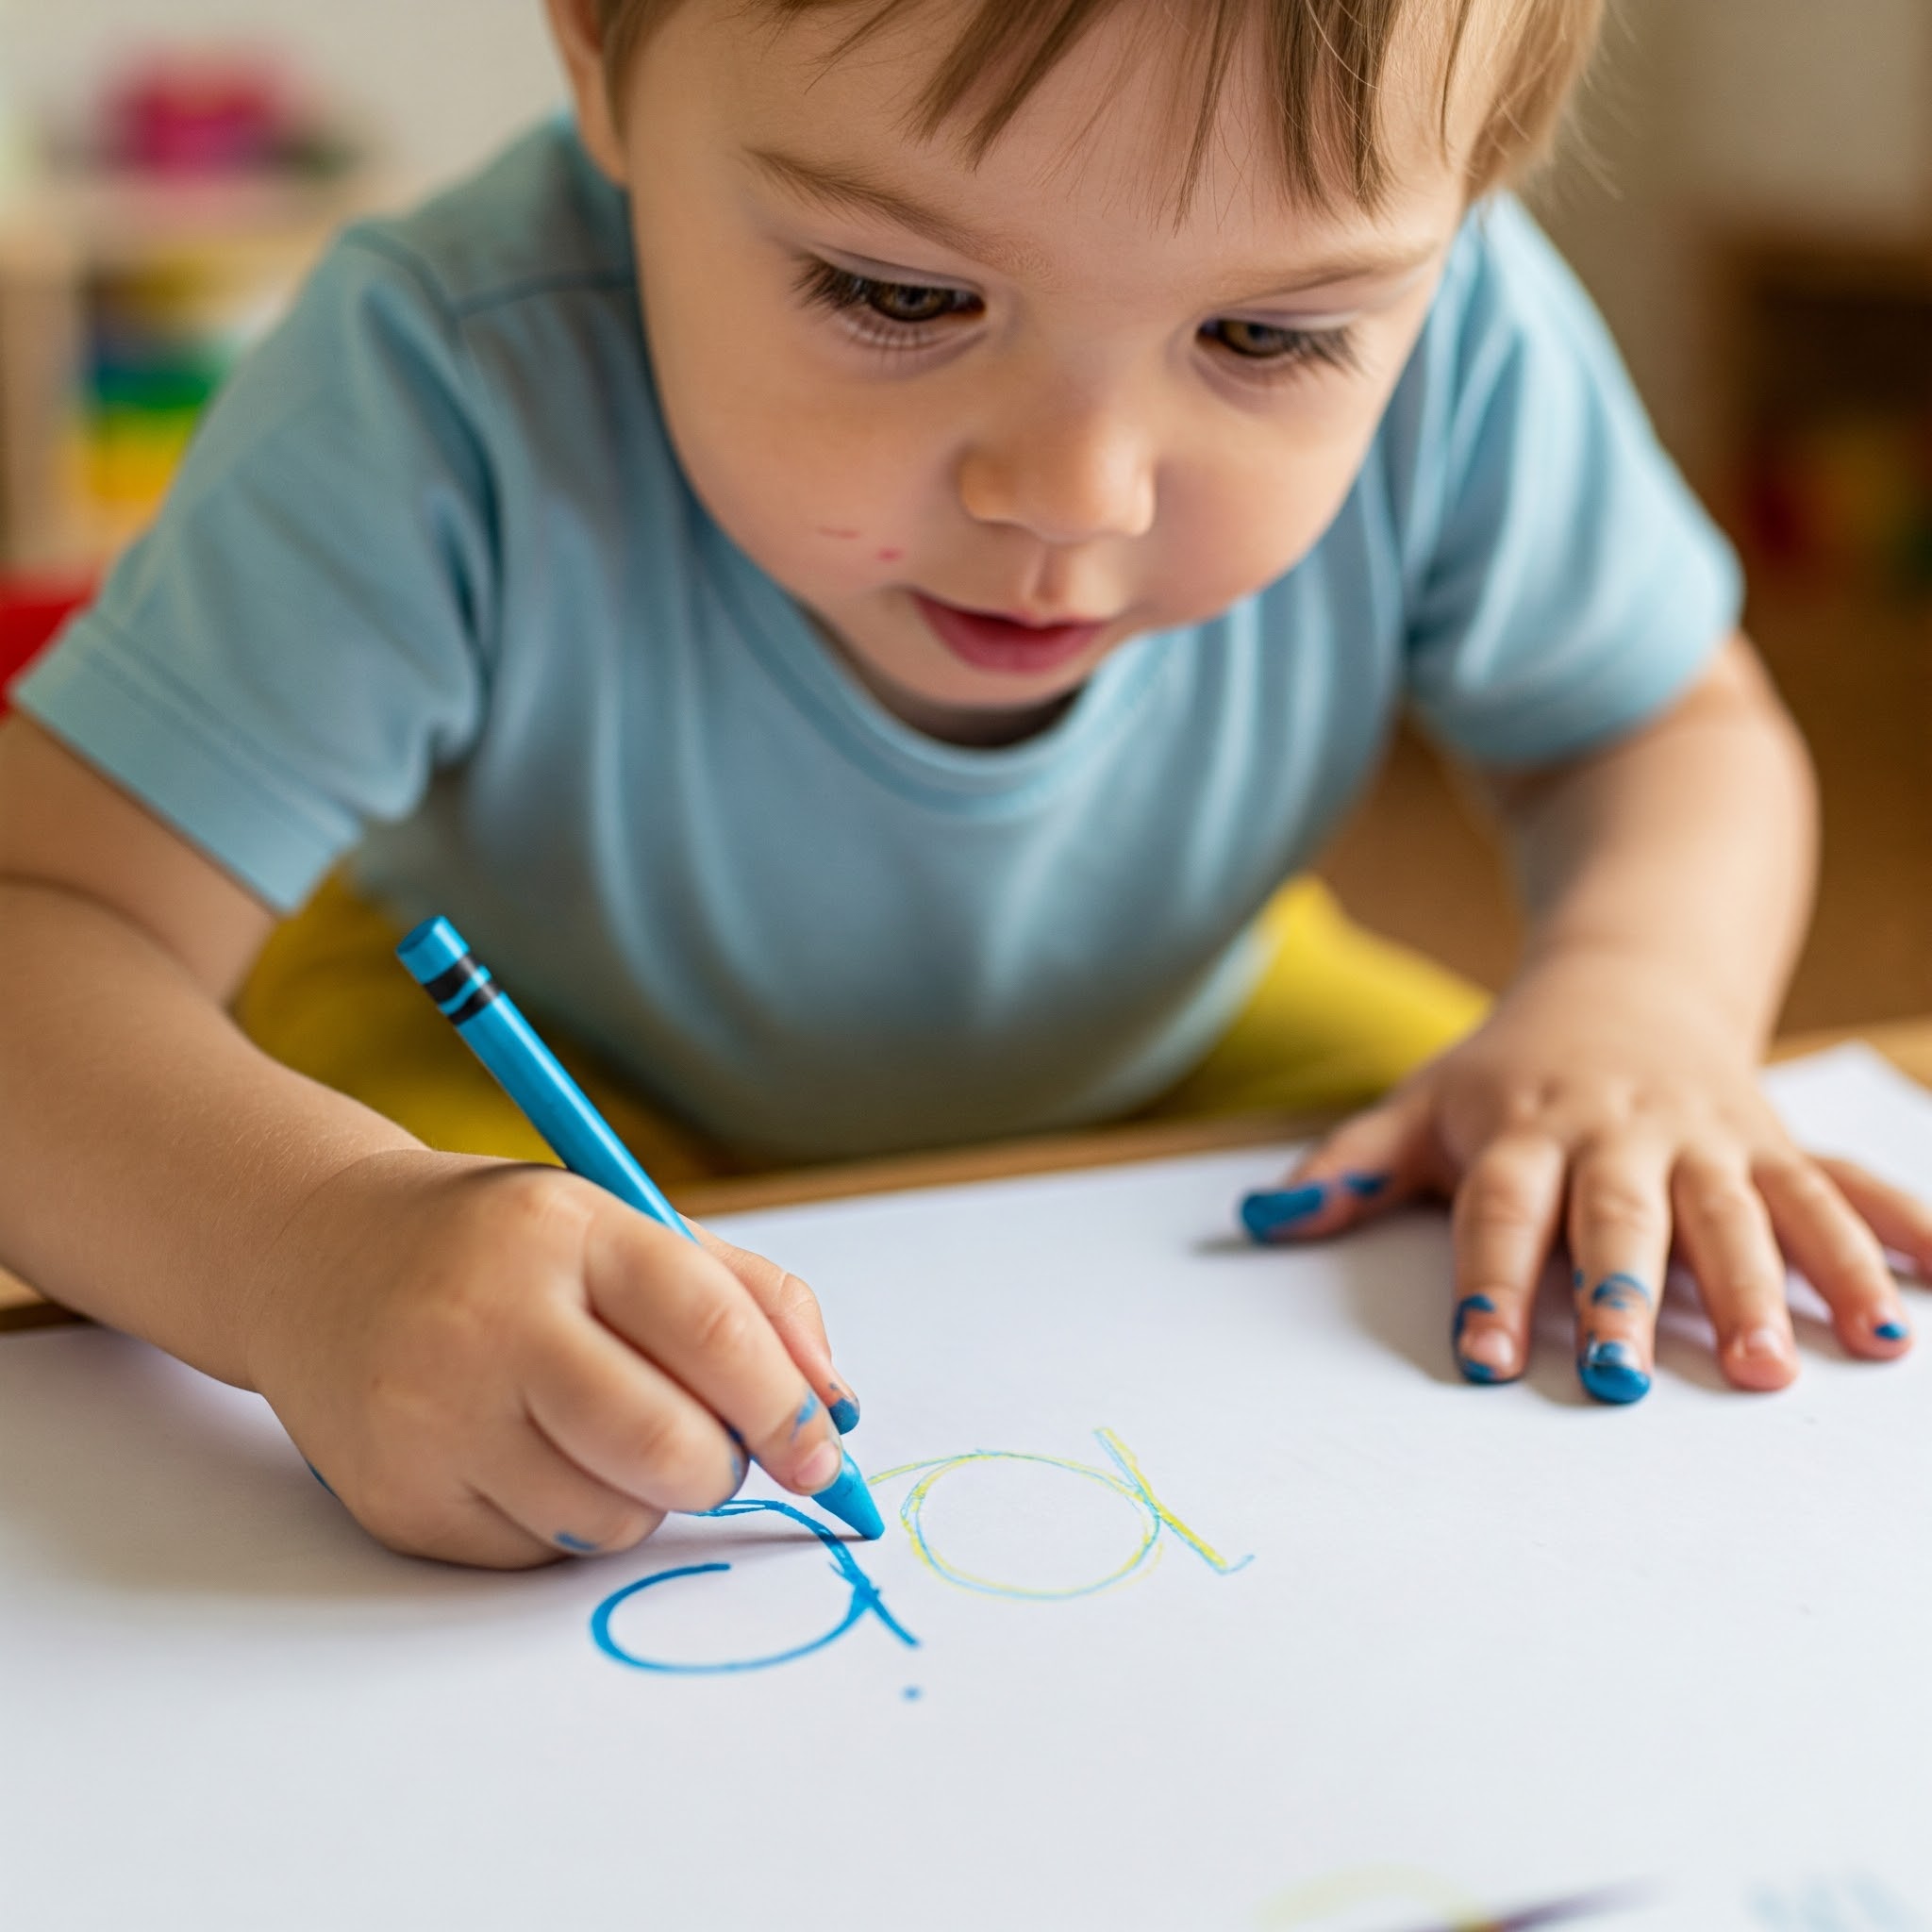
Example Task 4: Write Lowercase 'a' By Myself (3 Times)
Encourage independent practice for the lowercase 'a'. Celebrate their attempt!
2. Moving on to 'B' and 'b'
Focus on the sequence: straight line down first, then lift the pencil, then add the two bumps ("down, bump, bump").
Independent practice time! See how they do putting the steps together.
This one can be tricky! Emphasize the sequence: line down first, then bounce up and around for the circle. This helps differentiate it from 'd'.
Let them give the lowercase 'b' a try on their own.
3. Conquering 'C' and 'c'
Practice that big curve! Talk about starting at the top and curving around.
Encourage their best independent 'C'.
Good news! It's the same shape, just smaller. Reinforce the curving motion.
Final independent practice for this set. Well done!
Tips for Success
- Keep it Short & Sweet: Young attention spans wander. Aim for brief, focused practice sessions (5-10 minutes is often plenty). End on a positive note, even if tasks aren't fully completed.
- Use Fun Tools: Ditch the standard pencil sometimes! Try chunky crayons, washable markers, finger painting, or even writing letters in a tray of sand or salt for a sensory experience.
- Celebrate Effort, Not Perfection: The goal is learning and trying, not perfect handwriting at this stage. Praise their focus ("You really concentrated on that curve!") and persistence ("You kept trying even though 'b' was tricky!").
- Make it Visual with a TaskBoard: Using a tool like the Bitesize TaskBoard allows kids to physically move tasks from 'New' to 'In Progress' to 'Done!'. Seeing their progress visually is incredibly motivating and helps them understand the concept of completing steps towards a goal.
By breaking down letter writing into these small, manageable steps, you make a potentially frustrating task feel achievable and fun. You're not just teaching letters; you're building confidence, fine motor skills, and a positive attitude towards learning. Happy writing!
Recommended workbook based on author's own experiences
1. Trace Letters - Alphabet handwriting practice from SHEIN -- 20 letter tracings for each alphabet letter, with sufficient space between the tracings for own writing practice.